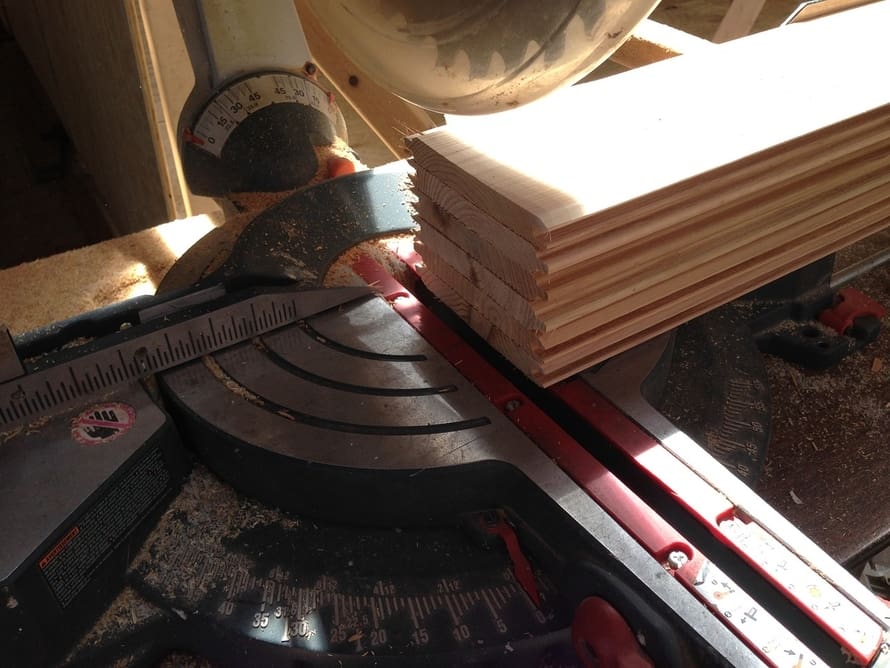

Miter-Saw-Review
Woodworking is fun and enjoyable when the right miter saw is in hand. But for a perfect cut each time, you must have to know how to use a miter saw. Besides, it is essential to pick the best miter saw for woodworking that you can get from here.
Miter saws come in a wide range of styles. Among them, some fancy products may have exceptional features – in most cases, the process of cutting an object is the same.
The main goal of this article is to provide the details that require using a miter saw. Regardless of the brand of the miter saw, this guide will help you for sure.
Table of ContentsWhen to Use a Miter Saw?Using a Miter Saw – Step by Step GuideStep 1: Set the Miter SawStep 2: Mark the ObjectStep 3: Position the Saw ClampStep 4: Miter Saw AdjustmentsStep 5: Start SawingStep 6: Cut the ObjectSome Safety TipsFinal Words
When to Use a Miter Saw?
Undoubtedly miter saw is one of the best tools for woodworking, but you shouldn’t use it for random projects. Instead, if you need to do some trimming work in a project or finishing work in a project, grab the miter saw. Depending on the type of the miter saw and capacity, the cut style may vary. If you are sure to use a miter saw for the project, follow our guide for details.
Using a Miter Saw – Step by Step Guide
We highly recommend using a good miter saw for professional works. According to Tools Judge, people often choose the wrong product and suffer in giving smooth finishing. So, grab the right one and follow the following steps to use it –
Step 1: Set the Miter Saw
The first thing you need to do is setting the miter saw in its place. Wherever you are working – maybe the garage or onsite project, make sure the surface is flat. The tool needs to get enough support from the base so that it could remain stable during the project.
Step 2: Mark the Object
In this step, place the object that you want to cut and position the blades of the miter saw. Now based on the type of your cut and the blades’ position, use a pencil to mark the targeted area where you want to cut or trim. We suggest measuring the object twice to ensure everything is going fine.
Step 3: Position the Saw Clamp
For the users’ security, the miter saw will have clamps. Before you start the sawing process, position the clamp so that your hands remain protected. Keep at least 6 inches’ distance from the blade. Now give a gentle tight to the clamps for securing it. You can, however, change the positioning with a small knob attached to the saw.
Step 4: Miter Saw Adjustments
Now you are ready for operating the miter saw. Before this, make sure that you have set the miter and bevel adjustment. Here, bevel means the vertical angle, and miter means the horizontal angle. If you don’t need a particular angel cut, go for the zero-degree measurement. If you have done it accurately, squeeze the trigger of the miter saw for turning it. Ensure full speed before you move it towards the blade. Must follow the manufacturer’s guidelines to prevent any damage.
Step 5: Start Sawing
This is the crucial step of using a miter saw. Start by triggering the saw and move the blades from front to back. After a pass, the wooden object will get a cut. Make sure you are going slow to prevent kickback in the action. Release the trigger and stop the blades for your next cut.
Step 6: Cut the Object
With a miter saw, you mostly can go for two different types of cuts – an angled cut and a miter cut. For a bevel cut or angled cut, must tilt the blade arm at a particular angle. Usually, modern miter saw blades can tilt in both directions. If yours have only one, you may need to go for multiple steps for an angled cut. If you are using the best miter saw, it will have an up to 45-degree angle for cutting the object.
On the other hand, for a miter cut, you don’t need to look in the blade tilting direction. Rather, check the blade position and move it according to your need. Once you have done this, push the trigger and cut the object accordingly.
Some Safety Tips
Even if you know how to use a miter saw, we suggest maintaining the safety procedure. Here are the safety tips to maintain –
- Must wear safety equipment like goggles, rubber gloves, and earplugs
- Start slowly with a new miter saw
- Never go for too much RPM if you don’t have much experience
- Be sure that you are setting the clamps for security
- Follow the manufacturer’s instructions for any cut
Final Words
Now that you know how to use a miter saw, you can start your first project with your new miter saw. We have described the process in detail. Still, if you have some confusion or your miter saw has some unique features, we recommend reading the user manual before starting any project. If you are not sure about the angles in the cut, you can start with a dummy object. If you can cut it without damage, surely you can do it for the main object.