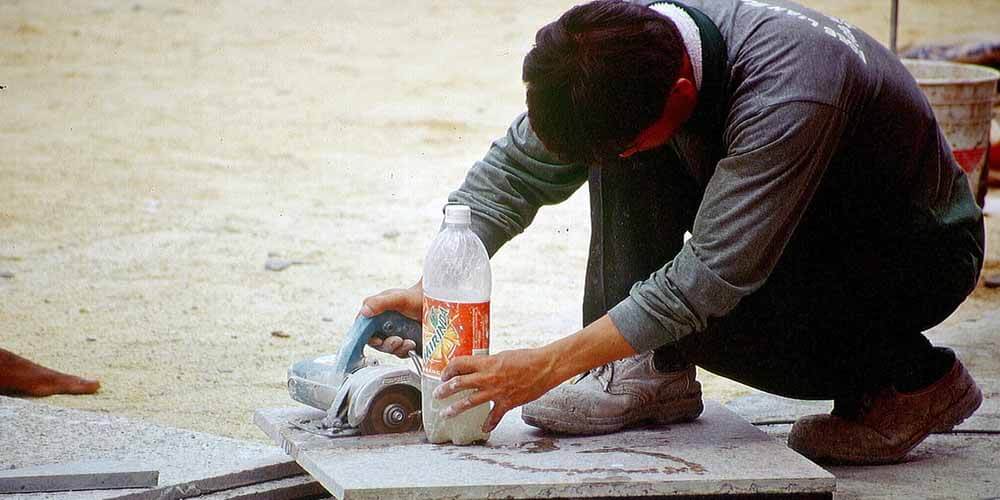

It’s great to have a tile saw for your projects but after a while the blades need to be replaced and then you find yourself asking how to change tile saw blade in an easy and simple manner.
Before you decide to change the blade of your saw, make sure that it really needs changing. It’s time for a new blade if-
- The saw creates unusual vibrations or sounds while operating
- The blade is visibly damaged
- The diamonds and born are worn out exposing the steel crux of the blade
- The cutting speed becomes unusually slow
Now that you are sure that your tile saw blade needs changing, read on to find out how you can easily change the blades of your tile saw. It does not take much time and always worked for me without any problems.
What do you need to Change the Blades?
- You will need an adjustable wrench to open the nut which holds the blade
- A screwdriver may be required to open the box covering the blade (it will depend on your make and model)
- Gloves and safety goggles to keep you from any harm during the job
Before you proceed
Remember to pull out the plug of the saw from the power outlet before you proceed to open the machinery. If it is a battery operated one, ensure that they batteries are removed. Also, put on your gloves and safety goggles right now.
How to Change tile Saw Blade?
Step 1: Access the Saw Blade
You will see that half or nearly three-fourth of your best tile saw blade having a protective cover over it. There is usually hinge which can be released to expose the blade when it’s time to replace it.
Your model of saw can also be equipped with wing nut that holds the cover. Remove the wing nut, open the cover and get access to the blade.
Pro Tip
Some cheap tabletop saws have a metal box under the saw blade which needs to be opened to expose the blade. The metal box is generally fixed with head screws which you will have to remove to get the cover off. Slide the box downwards and then inwards to take it off.
Step 2: Remove the Locking Nut
Now take your adjustable wrench and start loosening the nut located at the middle of the cutting blade. Now remove the locking nut and the washer from the shaft of the blade.
[tcb-script async=”” src=”//pagead2.googlesyndication.com/pagead/js/adsbygoogle.js”][/tcb-script][tcb-script](adsbygoogle = window.adsbygoogle || []).push({});[/tcb-script]
Pro Tip
Generally you need to turn the wrench in a counter clockwise direction for the blade shaft to release the nut.
Step 3: Remove the Cutting Blade
Slide the blade off the shaft and take it out of the thread. Remember to slide the cutting blade in your direction.
Step 4: Attach the New Blade
Take the new cutting blade and slide it carefully in the blade shaft.
Pro Tip
Some cutting blades have to be installed in a specific direction only. Check the blade to see if there is any arrow sign printed on it. If you find one, fix the blade in the direction of the arrow.
Step 5: Fix the Locking Nut
Put the washer and the locking nut back in their place. Using the wrench tighten the nut firmly so the blade is held securely.
Pro Tip
Avoid over tightening of the locking nut as it can damage the machinery.
Step 6: Replace the Cover
Now is the time to put back the cover of the cutting blade. If it was secured by a wing nut, put it and tighten the nut. If you are dealing with the metal box cover, attach it back and fix the head screws.
That’s it you are done! It wasn’t that difficult was it?
Now to give you some more insight into the process, I am going to list out some videos of how to change tile saw blade-
1. Here’s a great video featuring a DIY project on how to change the diamond blade on a portable wet cut tile saw. It really goes into the steps and shows you how to accomplish the task in a few minutes. Watch it here:-
[tcb-script async=”” src=”//pagead2.googlesyndication.com/pagead/js/adsbygoogle.js”][/tcb-script][tcb-script](adsbygoogle = window.adsbygoogle || []).push({});[/tcb-script][tcb-script async=”” src=”//pagead2.googlesyndication.com/pagead/js/adsbygoogle.js”][/tcb-script][tcb-script](adsbygoogle = window.adsbygoogle || []).push({});[/tcb-script]
2. This one shows the process of removing the blades from the MK 101 Wet Saw. The whole things can be done just under a minute. Can you believe it! Get the video here:-
3. In this video, QEP Company shows you how to get the job done. Learn more:-
Another one from the same company as above featuring their QEP 650 XT TILE WET SAW. Watch it here
[tcb-script type=”text/javascript”]amzn_assoc_placement = “adunit0”;amzn_assoc_search_bar = “true”;amzn_assoc_tracking_id = “sale05be-20”;amzn_assoc_ad_mode = “manual”;amzn_assoc_ad_type = “smart”;amzn_assoc_marketplace = “amazon”;amzn_assoc_region = “US”;amzn_assoc_title = “Traction Cleats Ice Snow Grips for Climbing Shoes”;amzn_assoc_linkid = “3e834d9aab33052060c29fe47c6c1188”;amzn_assoc_asins = “B07CKHQ71C,B073VLLT6N,B0002M9DO0,B003MXLJVQ”;[/tcb-script][tcb-script src=”//z-na.amazon-adsystem.com/widgets/onejs?MarketPlace=US”][/tcb-script][tcb-script async=”” src=”//pagead2.googlesyndication.com/pagead/js/adsbygoogle.js”][/tcb-script][tcb-script](adsbygoogle = window.adsbygoogle || []).push({});[/tcb-script][tcb-script type=”text/javascript”]amzn_assoc_tracking_id = “sale05be-20”;amzn_assoc_ad_mode = “manual”;amzn_assoc_ad_type = “smart”;amzn_assoc_marketplace = “amazon”;amzn_assoc_region = “US”;amzn_assoc_design = “enhanced_links”;amzn_assoc_asins = “B00YV5FF32”;amzn_assoc_placement = “adunit”;amzn_assoc_linkid = “420e7abaf844392795ed4f4cbb74cdee”;[/tcb-script][tcb-script src=”//z-na.amazon-adsystem.com/widgets/onejs?MarketPlace=US”][/tcb-script][tcb-script type=”text/javascript”]amzn_assoc_tracking_id = “sale05be-20”;amzn_assoc_ad_mode = “manual”;amzn_assoc_ad_type = “smart”;amzn_assoc_marketplace = “amazon”;amzn_assoc_region = “US”;amzn_assoc_design = “enhanced_links”;amzn_assoc_asins = “B075Z1KX71”;amzn_assoc_asins = “B074J9SSPD”;amzn_assoc_placement = “adunit”;amzn_assoc_linkid = “a2bfb8bc1cb05cf23b7a97b3c1df9741″;[/tcb-script][tcb-script src=”//z-na.amazon-adsystem.com/widgets/onejs?MarketPlace=US”][/tcb-script][tcb-script async=”” src=”//pagead2.googlesyndication.com/pagead/js/adsbygoogle.js”][/tcb-script][tcb-script](adsbygoogle = window.adsbygoogle || []).push({});[/tcb-script]
I have given a detailed guide on how to change tile saw blade. Hope it answered all your queries and helped you learn how to go about the process. It just takes a few minutes and you can start on your project armed with a sharp, new blade.
If you have any other techniques to change the blade, we would love to hear from you in the comments section below. Also feel free to share this information with some who would benefit from it.
Best of luck for your project!

Of course, what a splendid website and informative posts, I surely will bookmark your website.All the Best!