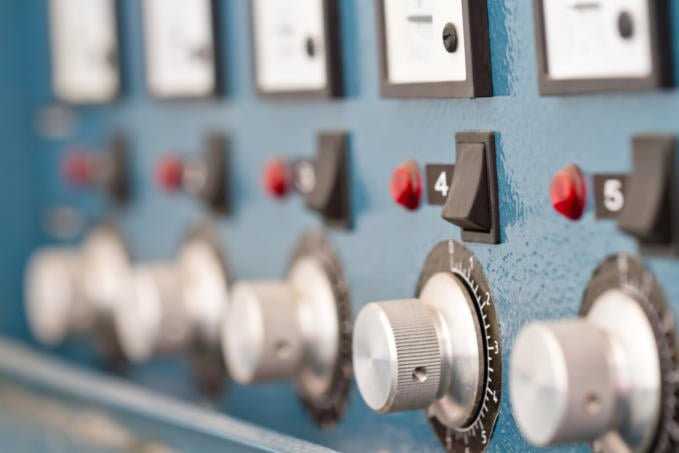

Instrument panel with circuit breakers and switches to control complex industrial installation
If you have brought a double pole switch and want to install it, then you should get excited because we are going to do it the best way. I will tell you about all the actions that you have to take to install a double pole switch perfectly.
Let me tell you first that installing a double pole switch is pretty much like installing an ordinary switch. So, let’s get into the step-by-step procedure!
What is a Double Pole Switch?
These switches are connected to two separate circuits. They act as two separate switches working at the same time. It switches both the live and neutral wires to ensure the safe isolation of the load circuit.
Prerequisites
Let me first take you through the prerequisites of the whole procedure.
- First things first, switch the power supply OFF. It is recommended to disconnect all the connections to avoid any kind of hazard.
- Remove the existing socket/switch if you are doing a replacing job.
- Remove all kinds of debris from the place where you are going to mount the switch.
Secondly, you should have the following equipment with you:
- Screwdriver
- Peeler/wire stripper
- Insulating tape
- Safety gloves
- Safety goggles (optional)
Once you have these things with you, then start with the procedure!
Procedure
- The first step is to install the switch box along with all the necessary wires that you are going to connect to your switch. Remember that there should be at least 6 inches of cable available in the box for connections.
- Once you have done it, using the peeler/wire stripper or anything available, strip the wires through a certain length (half an inch, maybe).
- Once you are done with that, now you have to make the neutral connections by joining the neutral wires and making a suitable connection with the ground wires.
- Now, remember that it doesn’t matter which color wire goes on which color terminal. This is because the switch act as two independent switches.
- Whereas, to follow a guideline, connect the black and red wires from the circuit breaker to the black terminals of the switch.
- You have to join the pole of the switch separately and the wires in a color-to-color manner.
- Once you have connected the wires, now tighten the screw to make a robust connection.
- Once you are done, now mount the switch with the box and screw a cover plate over it.
- Now, you can turn on the main supply and check whether it’s working or not.
Note
If you have any doubts while doing this, do consult an expert electrician.
If there are metal plate sockets, you have to earth them properly.
Read all the instructions properly and carefully. Follow all the steps and even look for more information.
Make sure that you have not connected wires in cross-connections. You must treat each of the poles separately.
While stripping the wire, do not cut the copper wires inside the insulation. This can lead to bad performance.
To earth, the metal sockets and switches connect the fixed earth terminal to the earth terminal on your switch or socket.
If you have pre-drilled holes in the wall to install the switch box (If you are installing a new switch from scratch), then there is no need for a drilling machine and stuff like that. Otherwise, you may need relevant tools as well.
Difference between Single Pole and Double Pole
To enhance your knowledge about this, let me briefly tell you about the difference between these switches as well.
A single pole switch provides 120V with a current of 15-20 amps, and it has one hot wire along with one neutral wire.
A double pole switch provides 240V with a current of 20-60 amps and has two hot wires sharing one neutral wire (categorically).
Conclusion
Things that seem pretty easy can turn out to be cumbersome. Therefore, you should be prepared properly. So, while working with electrical equipment, give the topmost priority to your safety. Other than that, for a healthy connection, make sure that you follow the steps right. If you still feel any kind of ambiguity, then don’t stop looking for information until you get satisfied. Have a wonderful day!